6. Cleaning methods for best results
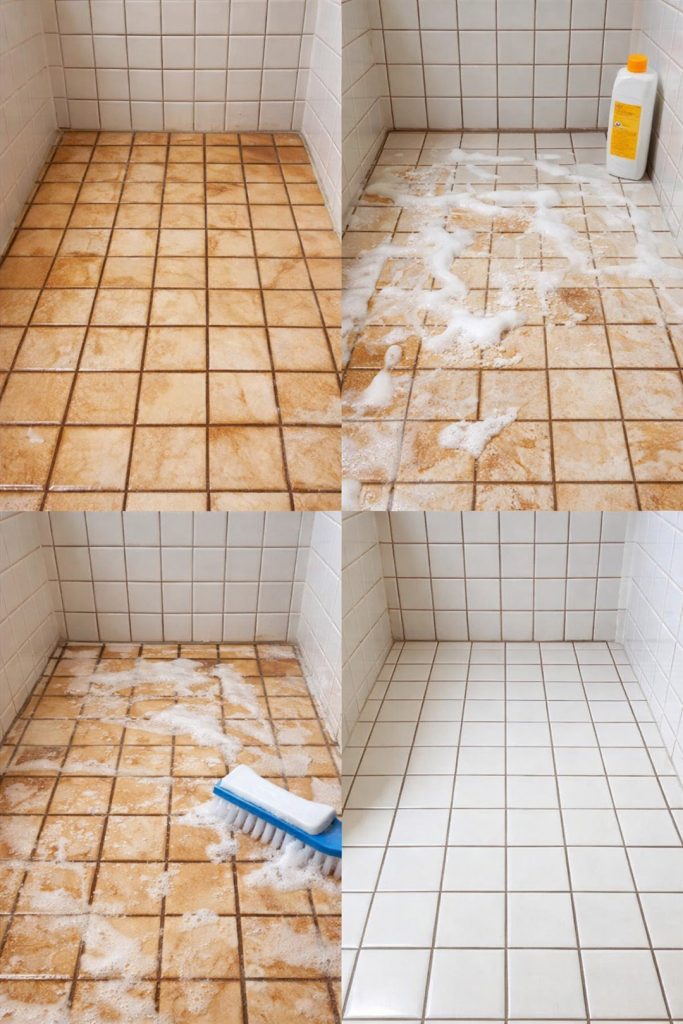
To maximize the effectiveness of your homemade floor cleaner, adopt proper cleaning techniques tailored to your floor type. Use a mop or microfiber cloth lightly dampened with the solution rather than soaking wet, as excess moisture can harm some flooring materials.
Apply the cleaner evenly across the floor, working in small sections for thorough coverage. Allow the floor to air dry without rinsing, as the solution’s residue is minimal and designed to evaporate cleanly, leaving a streak-free shine.
For stubborn stains or dirt, gently scrub with a soft brush or sponge before mopping the entire area. Avoid abrasive tools that can scratch finishes.
7. Suitable floor types
This homemade cleaner is ideal for resilient surfaces that tolerate mild acidity and gentle abrasion. Common suitable floor types include:
- Ceramic and porcelain tiles
- Linoleum
- Laminate floors
- Vinyl flooring
Use caution on hardwood floors, as vinegar can degrade wood finishes over time. For hardwood or stone, consult manufacturer guidelines or use a cleaner specifically formulated for those materials.
8. Avoiding common mistakes
To prevent damage and ensure your homemade cleaner works as intended, avoid these pitfalls:
- Mixing ingredients in incorrect proportions, which can reduce cleaning power or harm floors.
- Using excessive vinegar on sensitive surfaces like hardwood or natural stone.
- Over-wetting floors during cleaning, which can cause warping or damage.
- Storing the mixture too long; the reaction weakens and may produce ineffective or unstable cleaner.
- Neglecting patch tests before full application, risking discoloration or damage.